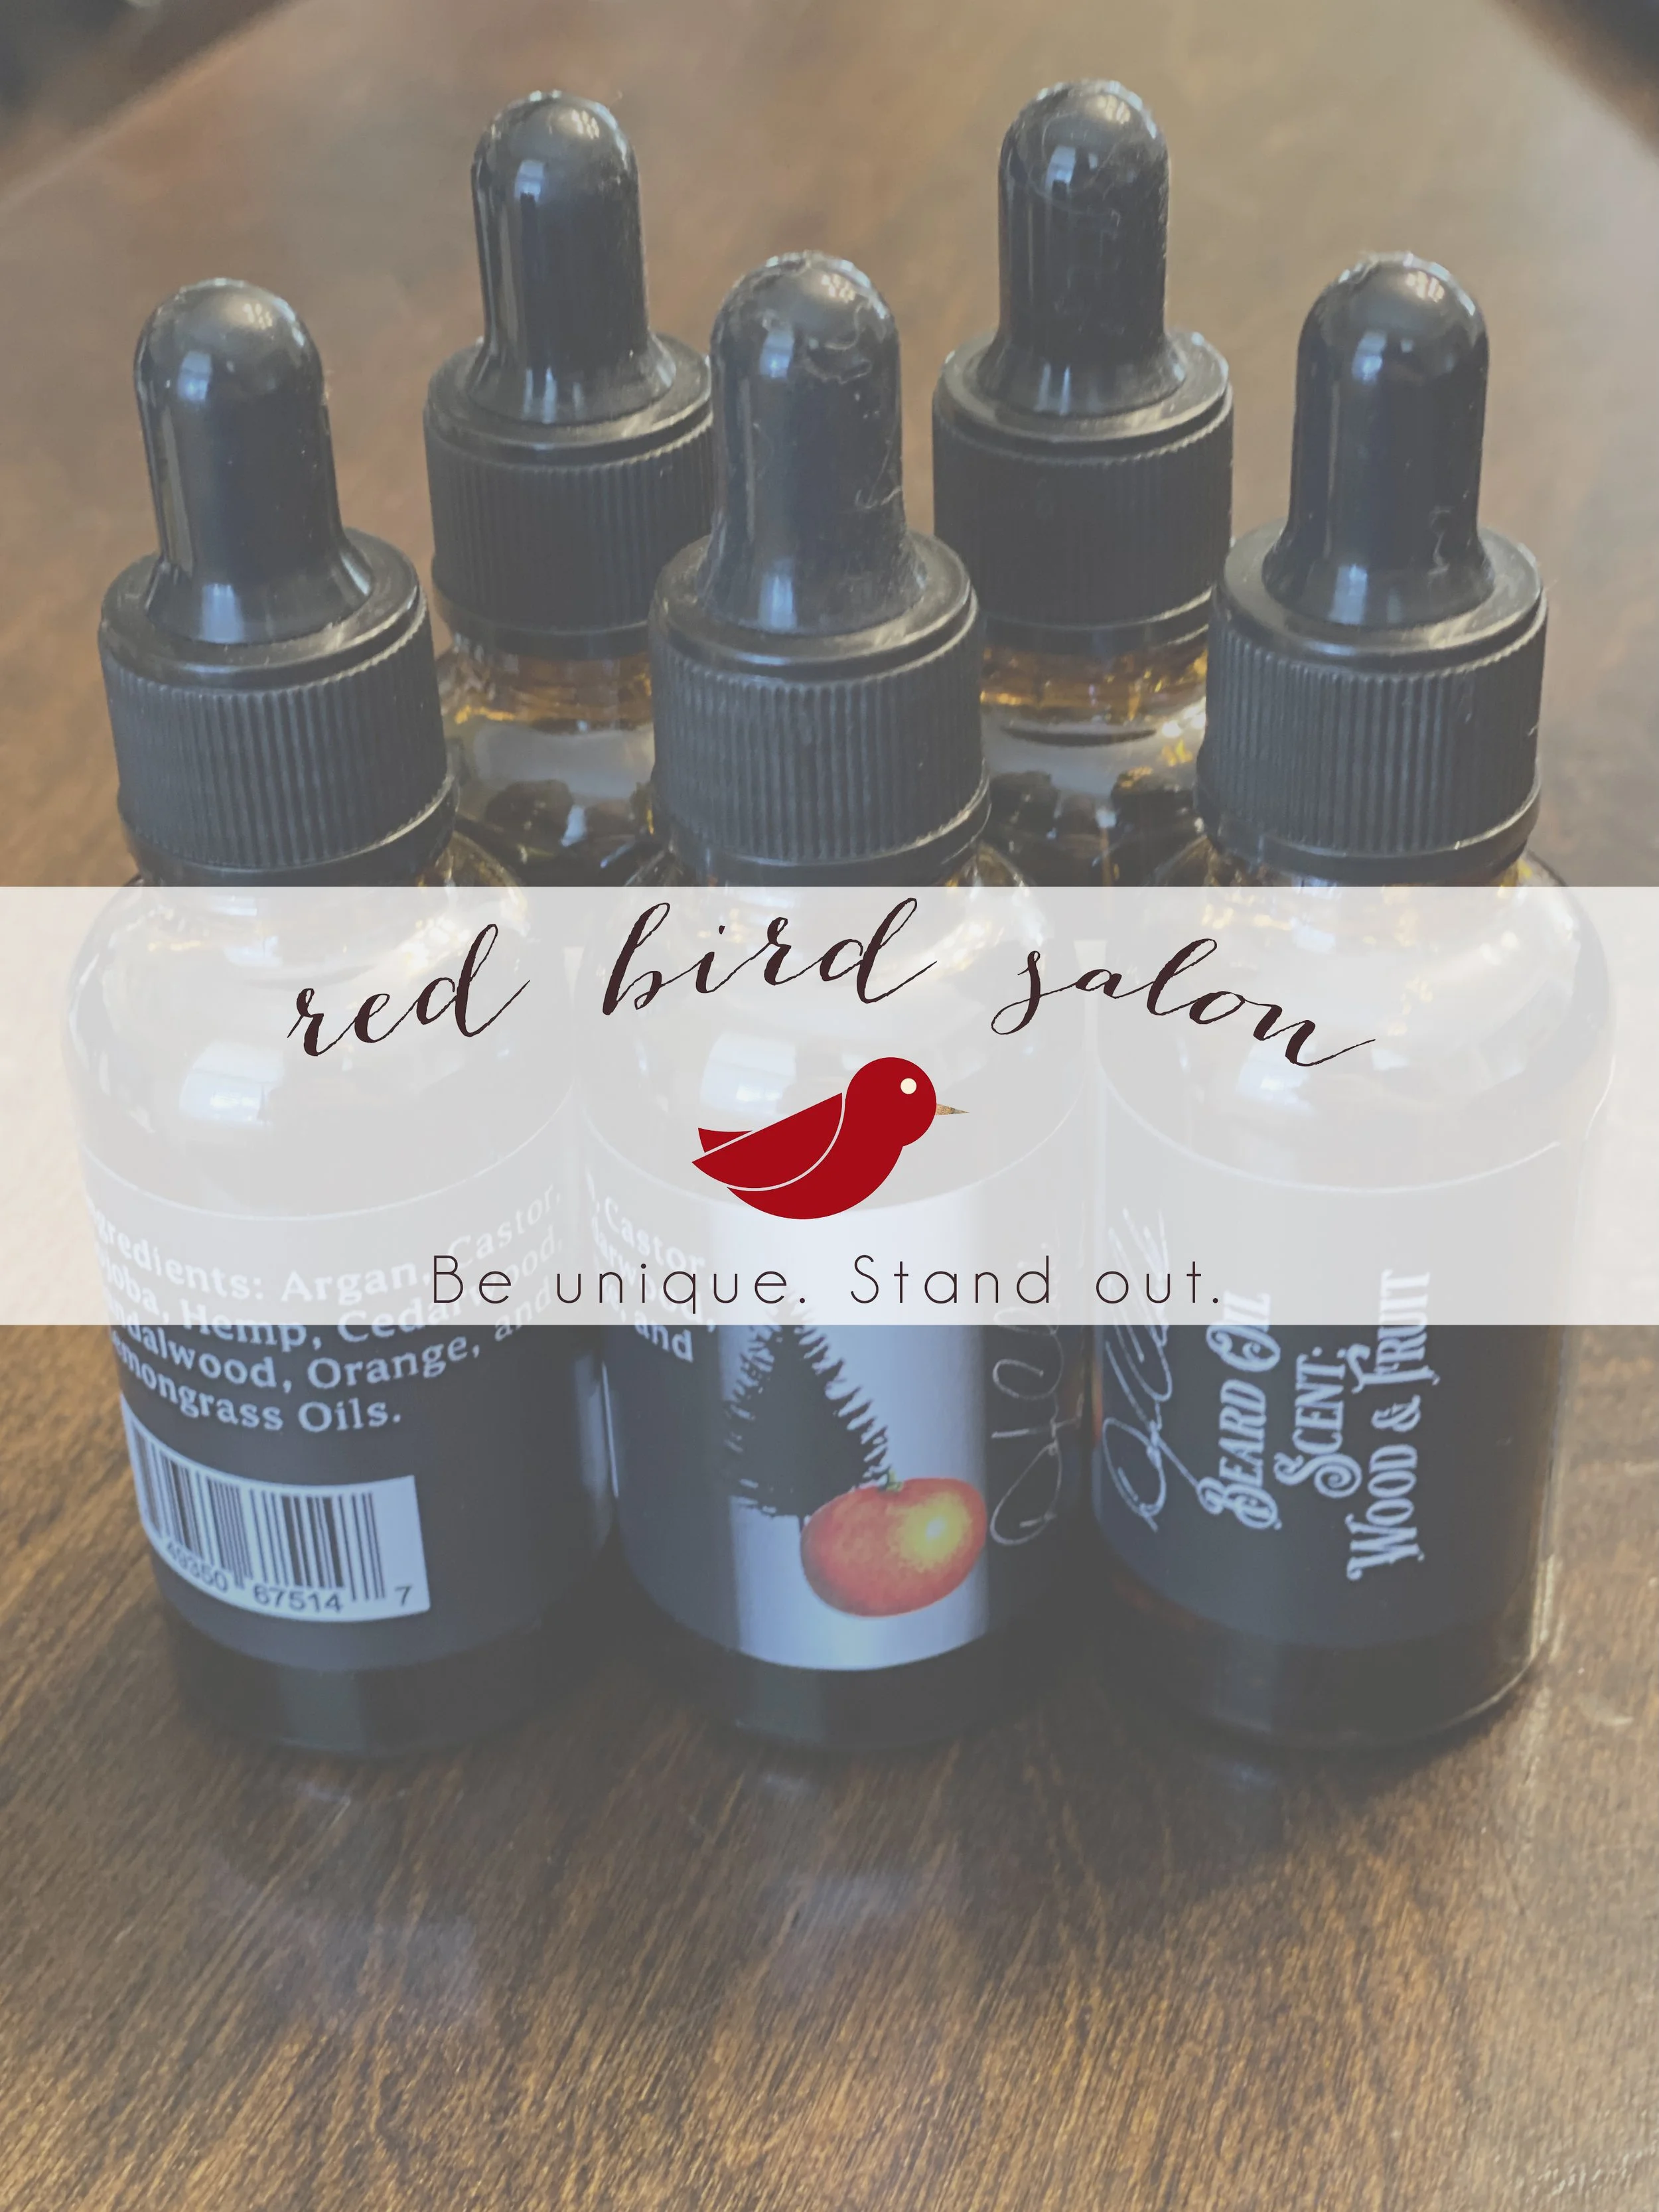
4-easy Steps To Replacing An LCD Screen On The Treo-650
Friday, February 29th, 2008

1st Step: General disassembly, remove battery and backing. The Treo is held together with 7 Torx (number 5) screws. Removing those screws and popping off the back panel will reveal the brains of the device
.
2nd Step: Remove the ribbon cable for the keyboard from it’s clip. Be very careful, if that cable is damaged no keyboard.
3rd Step: Now the remaining pieces will be like a technology sandwich in your hand. Remove the ribbon cable for the LCD screen from it’s clip. Pay close attention to just how far inserted the cable is.

4th Step: Remove old screen, replace with new screen and retrace your steps. If you did everything right, you should see slide number 5. Pa1m OS booting up.

Final Words: If you have questions about this or are attempting to DIY and having some problems, please watch the video in Episode 02 before emailing. BUT emails are welcome.